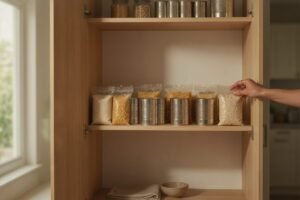

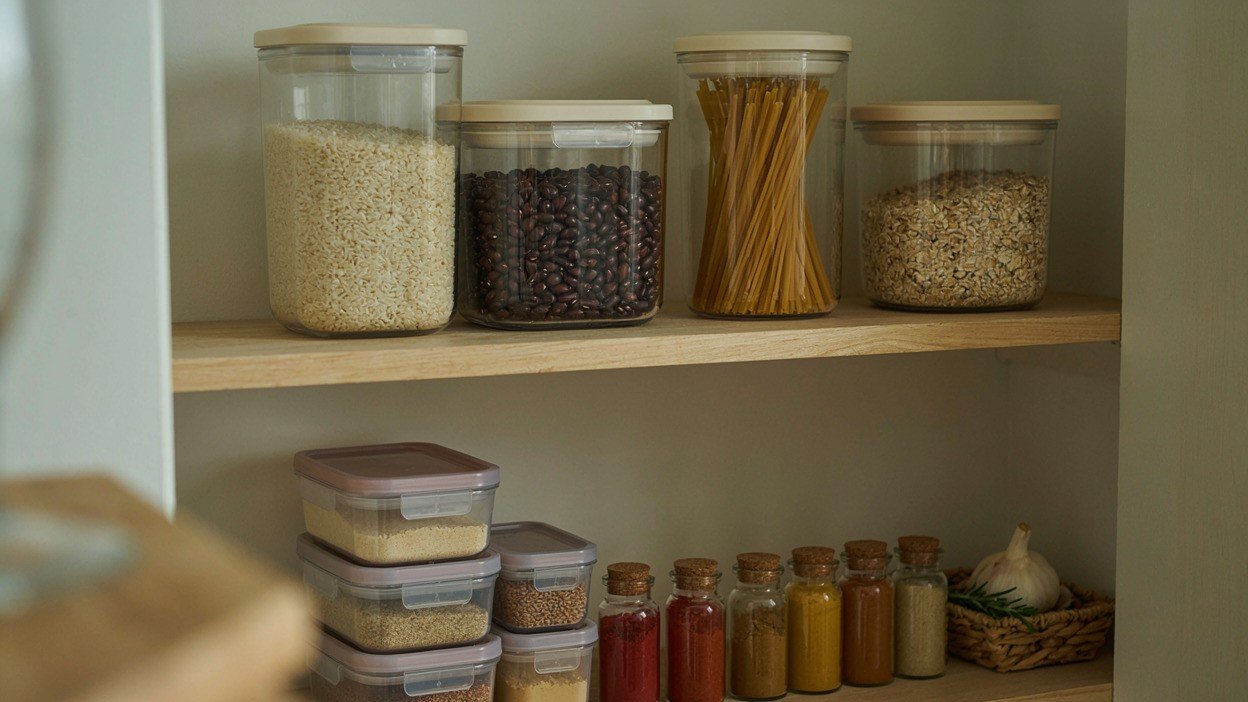
Do you know what used to annoy me? Thinking I had an ingredient in the pantry for a recipe and then finding out it had already expired! It is amazing how fast a pantry gets messy and how it starts to feel like a huge project to tidy up, which makes a lot of people put it off for months. The good news is that you can organize your pantry in 5 steps, in a way that lasts and does not turn into a mess again within two weeks.
To organize your pantry, empty everything and clean, group foods by how you use them, choose containers that suit each food, keep what you use every day within easy reach and label everything, with a 10-minute weekly check so the system does not fall apart. I explain each step below, and the order matters, because each one prepares the next.
Why it is worth taking the time to organize your pantry (beyond making it look nice)
An organized pantry saves time every day, because you find what you need in seconds without digging through everything. It also prevents waste, because you can see what you already have and what is close to expiring before buying more, and that makes it easier to plan your weekly meal plan, since you know exactly what is already at home.
In practice, it is the difference between deciding dinner in two minutes and standing in front of the cupboard for 10 minutes trying to make combinations with things you did not know you had, because what you were counting on has actually run out.
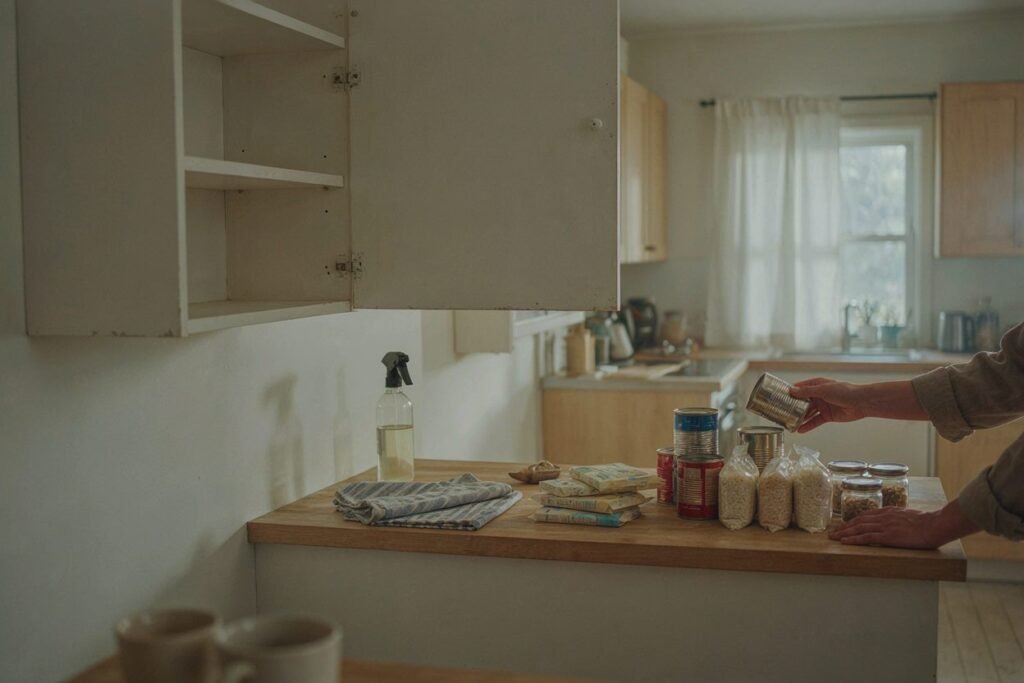
Step 1: empty everything and give it a real clean
The first step to organize your pantry is to take everything out, no exceptions. Many people skip this step and only tidy the surface, and then wonder why the organization did not last. With the space empty, clean the shelves, remove packaging residue and spilled food and take the chance to check the corners and the back of the shelves, where signs of damp and insects tend to show up. If you find insects in a bag of grains or flour, throw the bag away and clean the shelf before putting anything back.
While everything is out, make three piles: what is within its expiration date and you actually use, what is expired or spoiled, and what is duplicated, like that third packet of yeast you bought because you did not remember you already had two. The expired items go in the trash without regret, and the duplicates that are still good go into the week’s meal plan first, before you buy any more of that item.
To avoid losing steam halfway, set a 30-minute timer just for emptying and cleaning. With a deadline, we stop reading label after label and get straight to the point.
Step 2: sort into categories before putting anything away
This step is often rushed, and it is the one that changes your day-to-day the most. The idea is to group foods by how you use them and not just by type, because that is how you look for things when you are cooking. Some categories that work in most homes:
- Breakfast: coffee, tea, chocolate drink mix, cereals and jams.
- Meal basics: rice, beans, pasta, flours and seasonings.
- Canned and preserved foods: corn, peas, tuna and tomato paste.
- Snacks: cookies, chips and cereal bars.
- Opened and in use: any package that has already been opened, kept apart from the sealed ones.
Sorting this way helps more than putting “grains” on one side and “pasta” on the other, because you already know which section to look in depending on the meal. In the morning, with a child running late for school, nobody wants to hunt for the chocolate drink mix among the canned goods.
Step 3: choose the right containers (not always the most expensive ones)
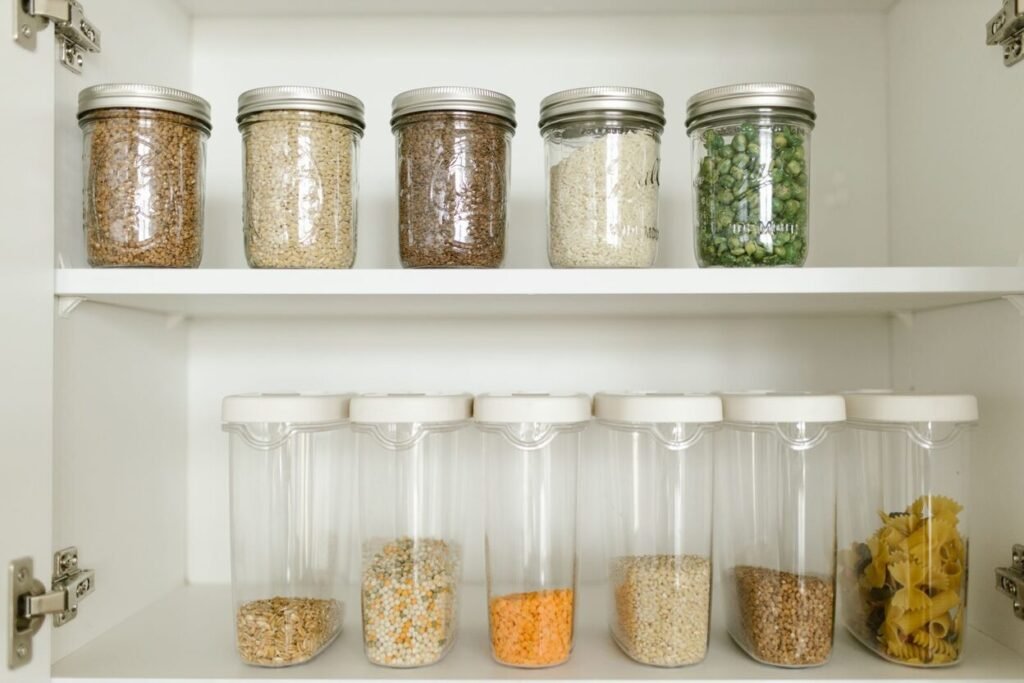
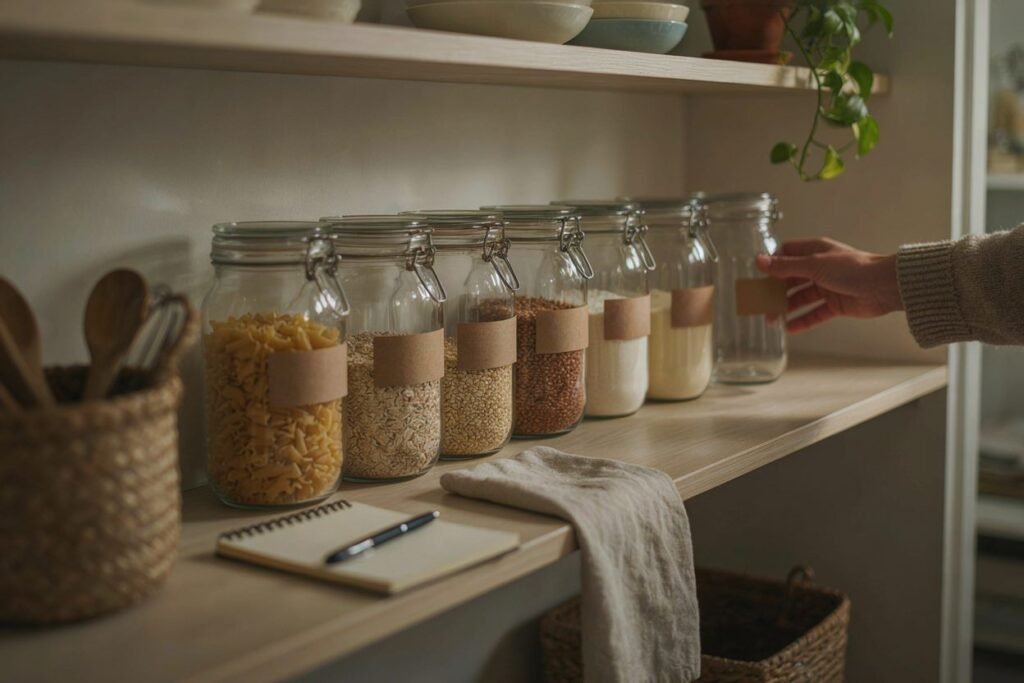
Clear containers help because you can see the contents and the quantity without opening each one. Airtight containers, with a silicone seal in the lid, are the best for grains, flours and cereals, because they keep moisture and insects out. Modular ones, which fit together, make the most of the shelf height and work well on lower shelves, while small stackable ones suit spices you rarely use, so they do not take up more space than they deserve.
You do not need to replace everything at once with expensive glass jars. Food-grade plastic containers with a good seal do the same job for a fraction of the price, and you can switch gradually, as your budget allows. If I were starting today, I would first buy the containers for rice, beans, flour and coffee, which are the ones opened and closed most often. And before buying anything, check whether you have glass preserve jars at home, which, once well washed, work for storing spices and small items.
Step 4: think about function, not just looks
This is where many “social media-pretty” pantries go wrong, because they were organized for the photo and not for daily use. The rule to organize your pantry for real life is simple: what you use every day goes at eye and hand level, no step stool and no crouching, and what you rarely use, like special cake pans and occasional utensils, goes on the highest or lowest shelves.
To keep food from expiring without you noticing, use FEFO rotation, which stands for First Expired, First Out. When you buy a new item, place it behind the one already there and use the one in front first. This is especially important for canned goods, flours and anything with a shorter shelf life.
If you have kids at home, set aside a low shelf just for their snacks. They help themselves, you do not have to stop what you are doing, and the adult items stay away from curious little hands.
Step 5: label everything and keep up the routine
Labels really do save time, and as a bonus they make everything look nicer. Write the name of the contents on each container and, when possible, the expiration date of whatever was moved from its original packaging, because once it is opened and moved to a new container, nobody remembers when it was due to expire. A roll of masking tape and a permanent marker do the trick, no label maker needed.
Maintenance is the part almost nobody talks about, and it is what makes the effort to organize your pantry last. Set aside 10 minutes a week, ideally before going grocery shopping, for a quick look. A sequence that works:
- Look at the shelf of opened items and note what needs to be used first.
- Check the expiration dates on the canned goods and flours at the front.
- Add whatever is running low straight to the shopping list.
- Put back in the right section anything that was stored in the wrong place during the week.
- To finish, wipe any spots where flour or sugar spilled.
With that done, you keep an organized pantry, your shopping list is ready and you avoid buying a fourth packet of yeast.
What to keep in the pantry (and what to leave out)
The natural candidates are non-perishable items, such as grains, pasta, canned goods, dried seasonings and oils. Bread and bakery products, on the other hand, go moldy faster outside the fridge, especially in a warmer or more humid home, so they should not stay there for long. And anything that has been opened and does not have a resealable package goes into an airtight container the same day, not “later”.
Water jugs and bottles can also go in the pantry, as long as they are in a cool corner away from the sun. But you can save money and space by using the water from your own tap. And if your question is whether your home’s water is good to drink, we explain it in the guide can you drink tap water in Brazil.
A small pantry or just a cupboard? That works too
Not every home has a real pantry, and that is fine. The same 5 steps to organize your pantry work in a kitchen cupboard or on a shelving unit, with a few tweaks to gain space. Clip-on extra shelves double the usable height, the inside of the door can hold hanging organizers, and baskets group the categories together, so instead of taking out ten packages to find one, you pull out the whole basket. If space is tight, FEFO rotation matters even more, because anything past its date just gets in the way.
Still have questions?
How long does it take to organize your pantry from scratch?
For a medium-sized pantry, a reasonable estimate is between 2 and 4 hours, including cleaning and sorting. If you do not have the whole day free, split it into two sessions: one to empty and clean and another to sort and label.
How often should I do a full clean again?
With the weekly check in place, an organized pantry usually only needs a full clean every few months. If you notice damp, insects or a strange smell, do not wait: empty that shelf right away.
Can I store cleaning products in the pantry?
Ideally, keep cleaning products away from food, in another cupboard or at least on another shelf, to avoid accidents and contamination, especially if there are children at home.
To wrap up
Learning to organize your pantry has less to do with pretty matching containers and more to do with a system you can keep up on busy days. Follow the 5 steps in order, choose categories that make sense for the way you cook and set aside those 10 minutes a week before grocery shopping.
Sources: USDA: shelf-stable food safety.
This content is for information only. It does not replace professional advice.